Why You Should Be Using 3D Probes
by Craig Rood
If you care about accuracy, you should probably be using 3D probes; so why isn't everyone then?
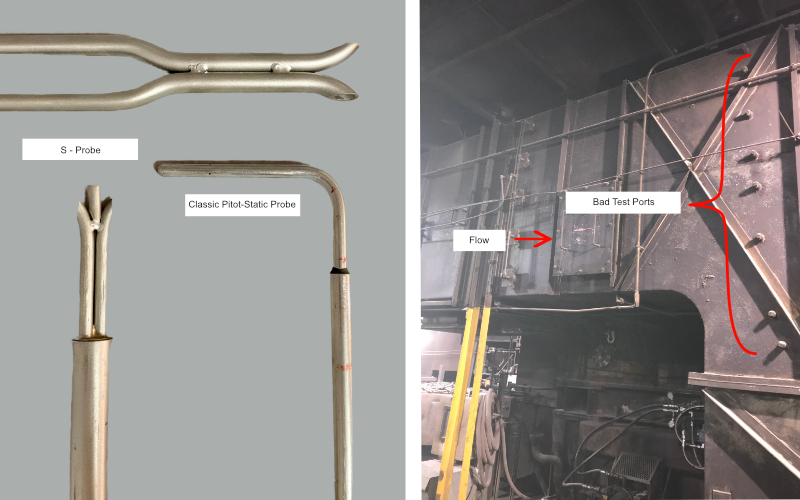
If you’ve spent any time trying to measure the flow in an industrial application, you’re no doubt familiar with the S-probe. This modification of the classic “L” shaped pitot-static tube has been the gold-standard of real-world flow measurements for decades, and for good reason; S-probes are almost bulletproof with a simple design that’s easy to manufacture, easy to use, and easy to master. With all of these factors working in its favor, it’s easy to see why people tend to overlook its very real limitations. In particular, one of the underlying assumptions for S-probes is that the flow being measured is traveling perfectly axially in the duct. While there are certainly cases where this is a reasonable assumption, they tend to be the exception rather than the rule. In reality, most test ports are placed in close proximity to duct bends, fans, dampers, internal structural elements, or any other number of items that can alter the direction of the gas flow. Even in areas where there is a nice long uninterrupted duct run, this axial flow assumption can fall apart, as anyone who has ever watched the swirling flow leaving a smoke stack can attest to.

3D Probes vs. S-Probes
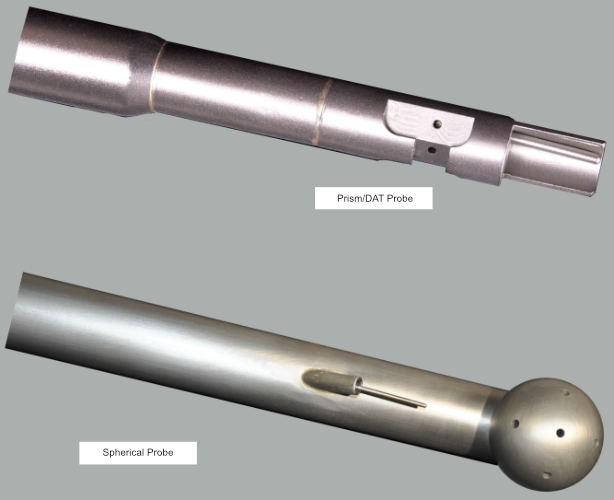
Fortunately for those who are interested in obtaining an accurate measurement of their air or gas flows, there are better tools available. 3D probes operate on the same basic principles as the S-probe but are well-suited to measuring non-axial flows. 3D probes utilize 5 pressure ports arranged at different angles so that they can accurately measure all three components of velocity as opposed to just the axial portion measured by an S-probe. These probes come in two different types: the prism probe (also called DAT probe) and the spherical probe.

So why haven’t 3D probes completely replaced S-probes? Well, they are definitely more challenging to manufacture, which translates to a marginally greater cost. But the real reason is that they can be a pain to use! While the S-probe requires only a single pressure as well as the temperature to be measured at each point, which can easily be done with a single handheld meter, the 3D probe requires 3 separate pressure measurements, plus an angle measurement, plus a temperature measurement. This results in a much more complicated setup to haul around a plant, as well as much greater opportunity for error when writing down all that data.
Enhance Your 3D Probe Experience with 3DDAS
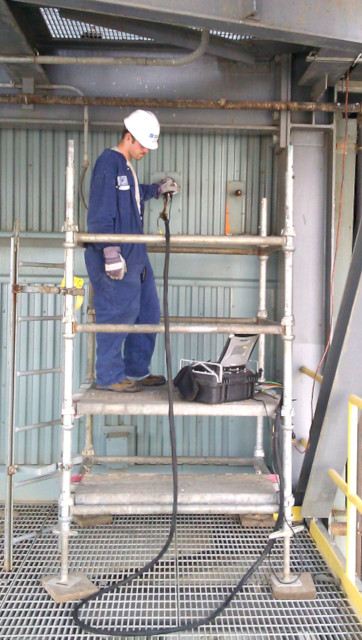
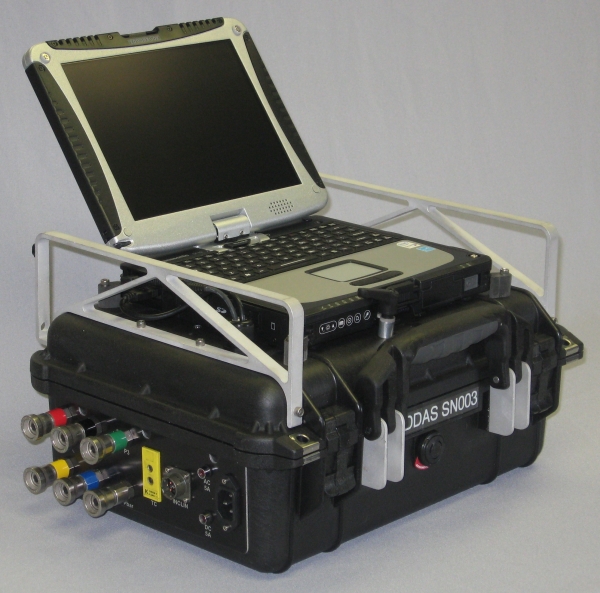
The good news is that there are technologies available for overcoming these obstacles! For instance, Airflow Sciences has developed the 3DDAS ™, which is a computer-controlled data acquisition system that connects to a 3D probe and simultaneously measures all the relevant parameters. The operator interfaces with the 3DDAS via the touchscreen computer or a simple 3-button remote control. This eliminates the possibility of writing down the wrong number (or incorrectly entering it in your spreadsheet later), replaces a bunch of hand-held manometers with a single rugged, easily-transported package, and generally makes performing a 3D test just as easy as performing an S-probe test.
And don’t worry, for all the die-hards out there that aren’t ready to throw your old S-probes in the trash, the 3DDAS will even work with those.


Learn more :
